How to attach a receipt
1
Open the transaction
Go to Banking → Transactions and click on a transaction.
2
Open Notes & Attachments
On the transaction row, click the + icon in the Notes column, or open the three-dot menu and select Notes & Attachments. The Transaction Receipts modal opens.
3
Upload your file
Drag and drop your file into the upload area, or click browse to select it. Supported formats: JPEG, PNG, WebP, HEIC, PDF — max 10 MB each, up to 10 attachments per transaction. You can also add an optional note (up to 5,000 characters).Click Upload to save.\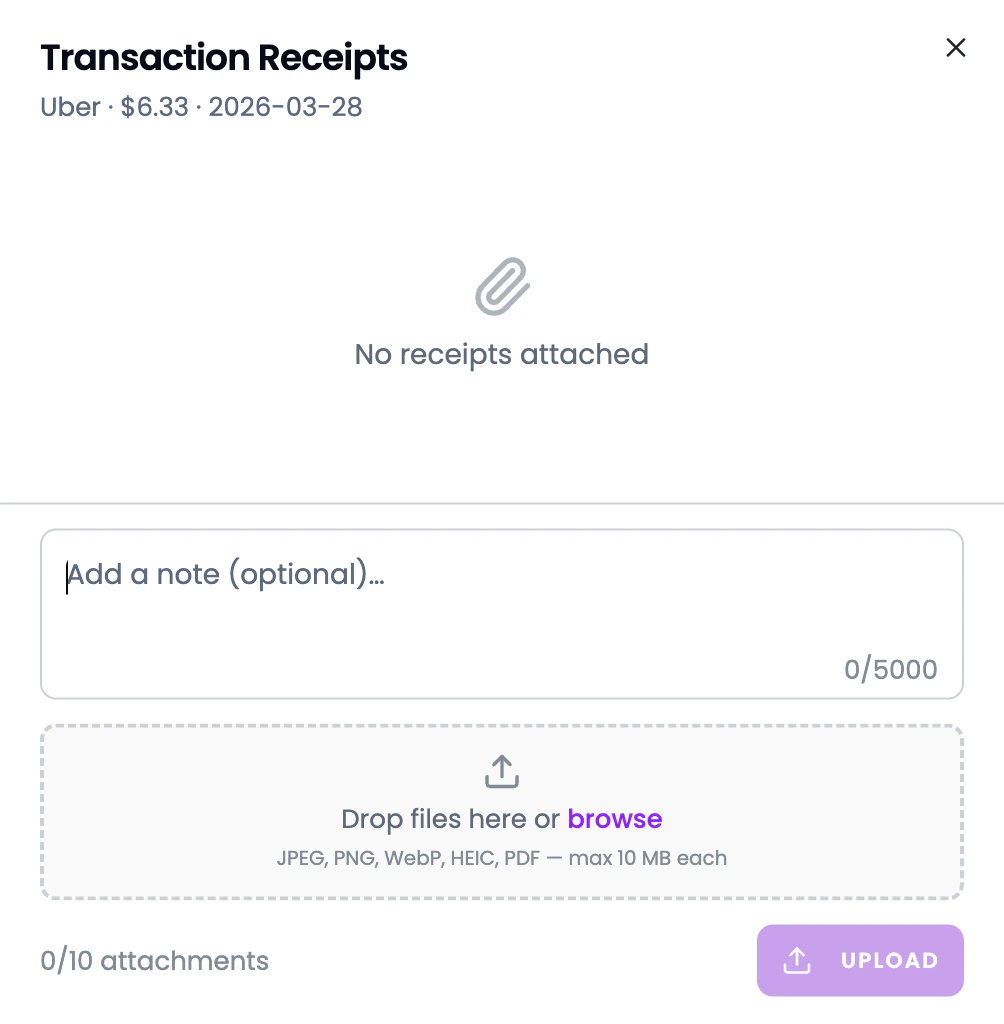
4
Done
The receipt is attached to the transaction. You can view or remove it anytime.
Why attach receipts?
- Tax preparation — your accountant can see exactly what each expense was for
- Audit trail — proof of purchase stored alongside the transaction
- Organized records — no more digging through email or shoeboxes for receipts