The Chart of Accounts (also called “Business Categories” in the sidebar) is your master list of financial categories. Every transaction you categorize goes into one of these accounts, and every report is built from them.
How it’s organized
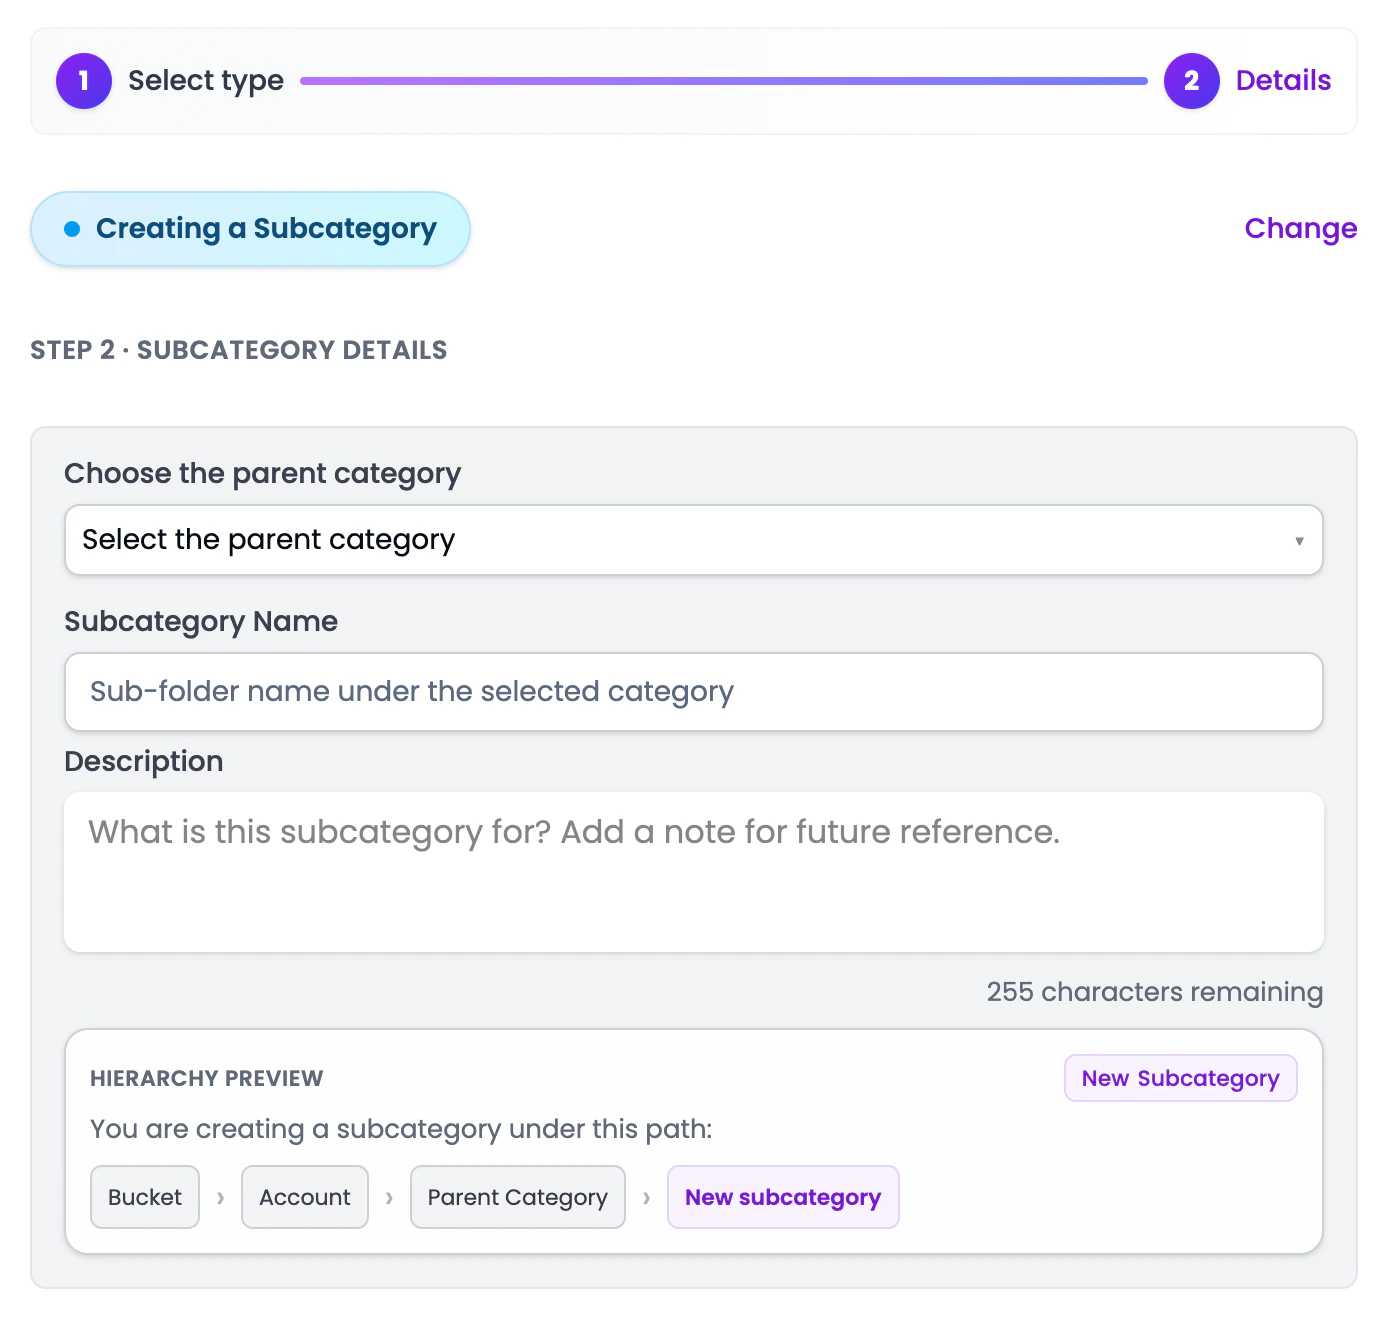
Cashflowy uses a 4-level hierarchy:
- Bucket - the top-level type (Asset, Liability, Equity, Revenue, Expense)
- Account - the financial account within the bucket (e.g., Checking Account, Accounts Receivable)
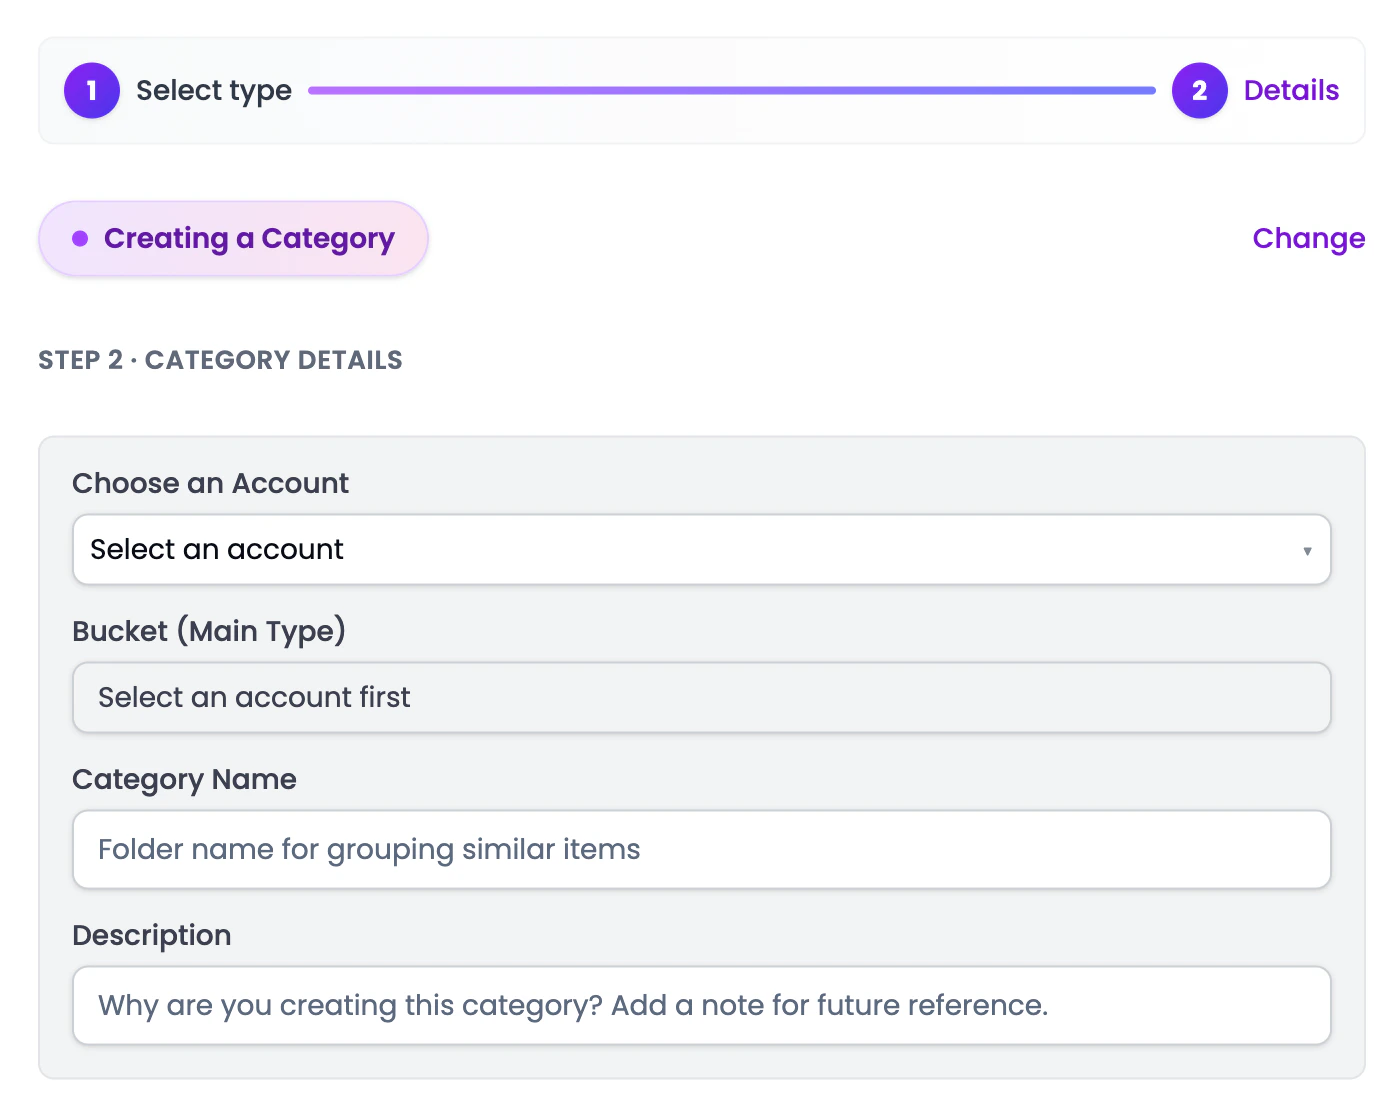
- Category - a grouping within an account (e.g., Consulting Income under Service Revenue)
- Subcategory - the most specific level, nested inside a category
What you can do
System vs. custom categories
Cashflowy comes with a standard set of categories out of the box. These cover the most common accounts for small businesses. You can’t delete system categories, but you can:
- Add custom categories for anything specific to your business
- Organize subcategories to match your industry or preferences
Category numbers
Every category has a Category Number (e.g., 4000, 4010, 4020) automatically assigned by Cashflowy. These numbers follow standard bookkeeping conventions and are used for reference in reports.
Don’t overthink it. The default categories work well for most businesses. Only add custom ones when you genuinely need more detail in your reports.