> ## Documentation Index
> Fetch the complete documentation index at: https://cashflowy.ai/docs/llms.txt
> Use this file to discover all available pages before exploring further.
# Add Clients & Create Your First Invoice
> Set up your client list and create your first invoice in Cashflowy.
Once your bank is connected and transactions are flowing in, you can start using Cashflowy to manage your clients and send invoices.
## Add your first client
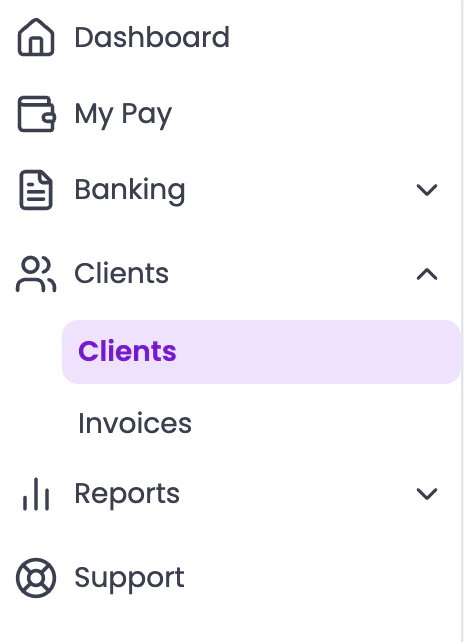
Navigate to **Clients** in the left sidebar.
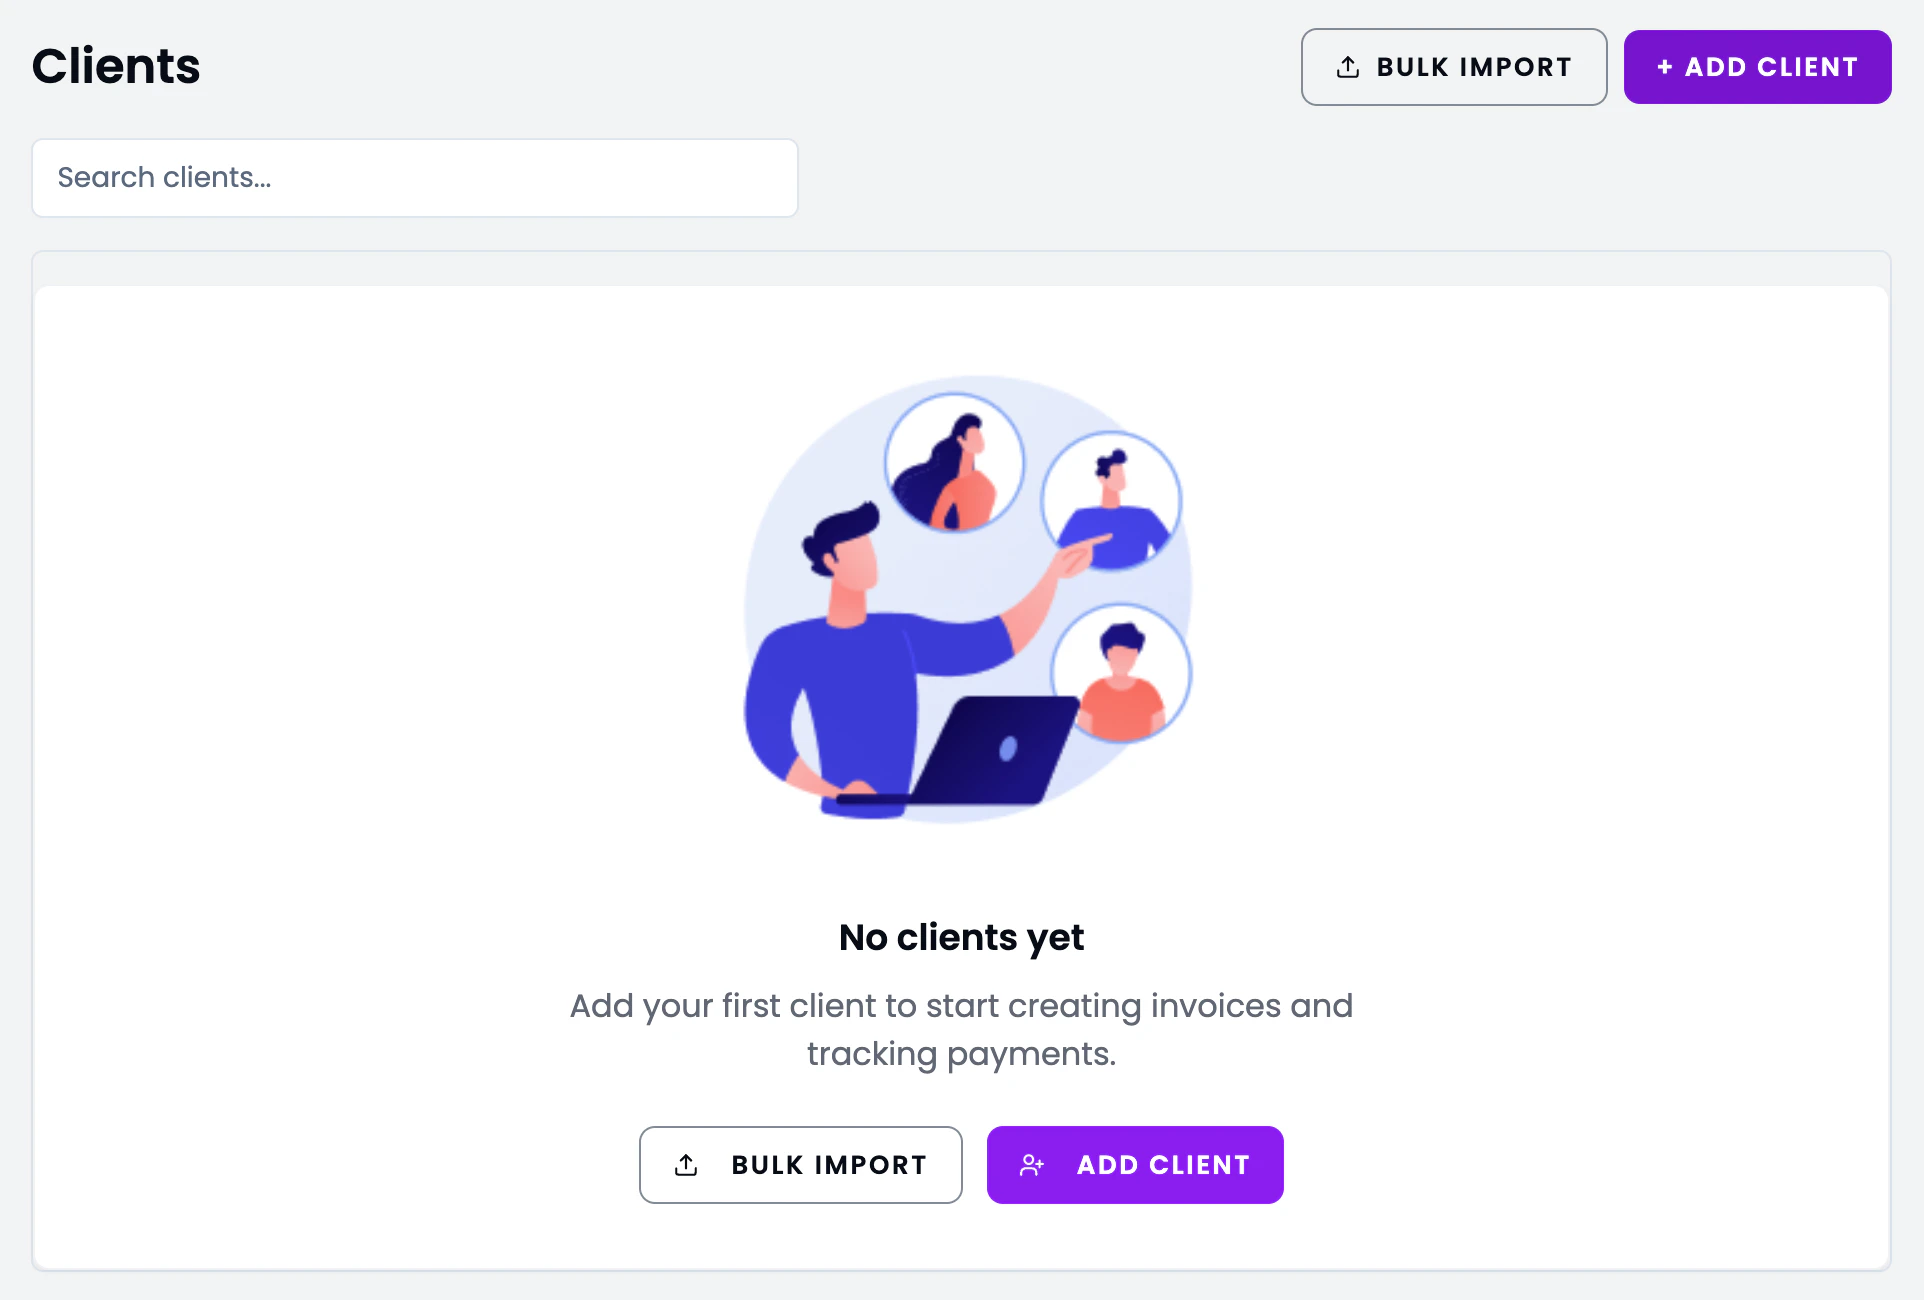
 Click the **Add Client** button and fill in the client details:
* **Name** - business or individual name
* **Email** - where invoices will be sent
* **Address** - billing address (optional, shown on invoices)
* **Phone** - contact number (optional)
Click the **Add Client** button and fill in the client details:
* **Name** - business or individual name
* **Email** - where invoices will be sent
* **Address** - billing address (optional, shown on invoices)
* **Phone** - contact number (optional)
 Click **Save**. The client is now available when creating invoices.
## Create your first invoice
Navigate to **Invoices** in the left sidebar.
Click the **Create Invoice** button to start a new invoice.
Choose the client you want to invoice from the dropdown.
Add one or more line items with a description, quantity, and rate. Or select from your saved [services](/faq/invoicing/add-service).
Preview the invoice, then choose to **Save as Draft** or **Send** it directly to your client via email.
You can also [connect Stripe](/faq/invoicing/connect-stripe) to include a payment link on your invoices, so clients can pay online instantly.
## What's next?
Create reusable services to speed up invoice creation.
Enable online payments so clients can pay with a click.
Click **Save**. The client is now available when creating invoices.
## Create your first invoice
Navigate to **Invoices** in the left sidebar.
Click the **Create Invoice** button to start a new invoice.
Choose the client you want to invoice from the dropdown.
Add one or more line items with a description, quantity, and rate. Or select from your saved [services](/faq/invoicing/add-service).
Preview the invoice, then choose to **Save as Draft** or **Send** it directly to your client via email.
You can also [connect Stripe](/faq/invoicing/connect-stripe) to include a payment link on your invoices, so clients can pay online instantly.
## What's next?
Create reusable services to speed up invoice creation.
Enable online payments so clients can pay with a click.